From Zero to GPU: Building and Production-Ready CUDA Kernels with Kernel Builder
TL;DR
- The Hugging Face kernel-builder streamlines creating, building, and publishing custom CUDA kernels that register as native PyTorch operators.
- Use a reproducible Nix-based workflow (flake.nix, nix develop, nix build) to iterate locally and build for multiple PyTorch/CUDA variants for distribution.
- Register operators with PyTorch APIs so they are visible to torch.compile and can have CPU and CUDA backends managed by PyTorch’s dispatcher.
- Publish build artifacts to the Hub; use semantic version tags and the kernels library to manage versions and pin builds at project level.
Context and background
Custom CUDA kernels are a common way to accelerate model inference and data processing on GPUs. Writing a performant GPU kernel is only part of the work: production use requires reproducible builds, multi-architecture support, robust registration into the PyTorch ecosystem, and an easy distribution mechanism for downstream users. Hugging Face created the kernel-builder library and an associated workflow to make that full lifecycle practical. The toolchain emphasizes reproducible development shells, automated multi-variant builds across supported PyTorch and CUDA versions, and straightforward distribution via the Hugging Face Hub.
What’s new
This guide explains how to move from a single GPU function to a production-ready kernel pipeline using kernel-builder. Key elements demonstrated include:
- Project scaffolding expected by kernel-builder, including the main build orchestration files and a
flake.nixto pin dependencies. - Writing a CUDA implementation for an example kernel (RGB to grayscale conversion) and exposing it as a native PyTorch operator.
- Using Nix development shells for fast iteration and explicit builds for particular PyTorch and CUDA combinations, for example PyTorch 2.7 and CUDA 12.6.
- Building for multiple supported variants and publishing the resulting artifacts to a Hub repository so others can load the kernel directly from the Hub.
Why it matters (impact for developers and enterprises)
- Performance: Custom kernels can deliver a large performance advantage when integrated as native operators and fused by PyTorch’s compilation and dispatch systems.
- Reproducibility:
flake.nixand Nix shells remove “it works on my machine” problems by locking exact toolchain versions and kernel-builder releases. - Compatibility: Registering the operator via PyTorch’s library macros makes the kernel visible to
torch.compileand enables multiple backend implementations (CUDA, CPU) to coexist and be selected automatically based on tensor device. - Distribution and operations: Publishing prebuilt artifacts to the Hugging Face Hub removes typical packaging friction. Semantic versioning and the kernels locking mechanism allow teams to control upgrades and ensure reproducible deployments across users.
Technical details or Implementation
Project layout and build orchestration A predictable repository structure is the foundation. The kernel-builder expects specific files and directories to orchestrate compilation, registration, and packaging. Example files and their roles: | File / Directory | Purpose
| --- |
|---|
flake.nix |
csrc/img2gray.cu |
torch-ext/torch_binding.cpp |
torch-ext/img2gray/__init__.py |
CMakeLists.txt, pyproject.toml, setup.py, cmake/ |
| CUDA kernel and PyTorch registration |
The example kernel uses a 2D grid of CUDA threads, which aligns naturally with image shapes. More importantly, the kernel is registered as a native PyTorch operator so it appears under torch.ops. Registration is handled in C++ binding files. The guide highlights two registration-related benefits: |
- Compatibility with
torch.compile: by registering the operator via PyTorch library macros (e.g., using TORCH_LIBRARY_EXPAND), the operator is visible to PyTorch’s compilation pipeline, allowing fusion and other optimizations. - Backend flexibility: the registration pattern allows adding a CPU implementation with a macro like
TORCH_LIBRARY_IMPL(img2gray, CPU, ...)so PyTorch will dispatch to the right backend according to the input tensor device. Iterative local development with Nix For fast iteration, usenix developto enter a development shell that installs the exact CUDA and PyTorch versions you need. This reduces rebuild friction compared to re-invoking full multi-variant builds each change. Build a single-variant locally withnix build . -Lor enter the dev shell for editable installs and rapid testing. The example mentions building for PyTorch 2.7 with CUDA 12.6 in the dev shell. Multi-variant builds and compliant kernels To reach a broad audience, build artifacts must be produced for all supported PyTorch and CUDA combinations. kernel-builder automates multi-variant builds and maintains a list of supported build variants. A compliant kernel is one that can be built and run across those supported versions. The multi-variant process can be time-consuming but produces build outputs in aresultdirectory. Those results must be moved into the expected build directory before publishing. Publishing and distribution Once builds are ready, create a Hub repository, ensure you are logged in withhuggingface-cli login, connect the project to the repo, and push. The example kernel and its build variants are published athttps://huggingface.co/drbh/img2gray. Loading kernels in applications The kernels library does not use traditional local installation. Instead, users load kernels directly from a Hub repository; loading automatically registers the operator in the running Python process. For reproducible deployments and coordinated upgrades, the guide recommends semantic version tags (formatvX.Y.Z) and version bounds when fetching a kernel. For example, tag releases likev1.1.2and request versions such that downstream code can specify ranges (at least 1.1.2 but less than 2.0.0). Project-level kernel requirements can be declared inpyproject.tomlundertools.kernels, and thekernelsCLI can lock those requirements to akernels.lockfile that should be committed. Versioning and lifecycle management Using Git tags and the kernels lock file reduces breaking changes for downstream users. Users can also pin to a specific Git commit, but semantic versioning offers clearer upgrade semantics and compatibility guarantees for minor/patch releases.
Key takeaways
- Use kernel-builder and a
flake.nixto make kernel builds reproducible and portable. - Register kernels as native PyTorch operators so they are visible to
torch.compileand the PyTorch dispatcher. - Use Nix dev shells for fast iteration and kernel-builder multi-variant builds for distribution across PyTorch/CUDA combos.
- Publish artifacts to the Hugging Face Hub and manage compatible versions with semantic tags and the kernels lock workflow.
FAQ
-
How do I ensure my kernel is visible to PyTorch's compilation pipeline?
Register the kernel as a native operator using PyTorch library macros (for example via TORCH_LIBRARY_EXPAND). This makes it visible to `torch.compile` and allows fusion within larger computation graphs.
-
How can I test locally without rebuilding all variants?
Use `nix develop` to enter a development shell for a specific PyTorch and CUDA combination. Build and install the kernel in editable mode for quick iteration.
-
How do I distribute builds to other developers?
Build multi-variant artifacts with kernel-builder, move results into the expected build directory, create a Hub repository, and push using `huggingface-cli login` and Git push. Consumers can then load the kernel from the Hub.
-
What versioning strategy is recommended?
Use semantic versioning with Git tags of the form `vX.Y.Z`. Specify version bounds when fetching kernels and use the `kernels` CLI to generate a `kernels.lock` for reproducible project-level pinning.
References
- Kernel builder guide: https://huggingface.co/blog/kernel-builder
- Example Hub repository: https://huggingface.co/drbh/img2gray
- Hugging Face CLI login: use
huggingface-cli loginas referenced in the guide - Note: The guide includes an accompanying YouTube video mentioned in the original post
More news
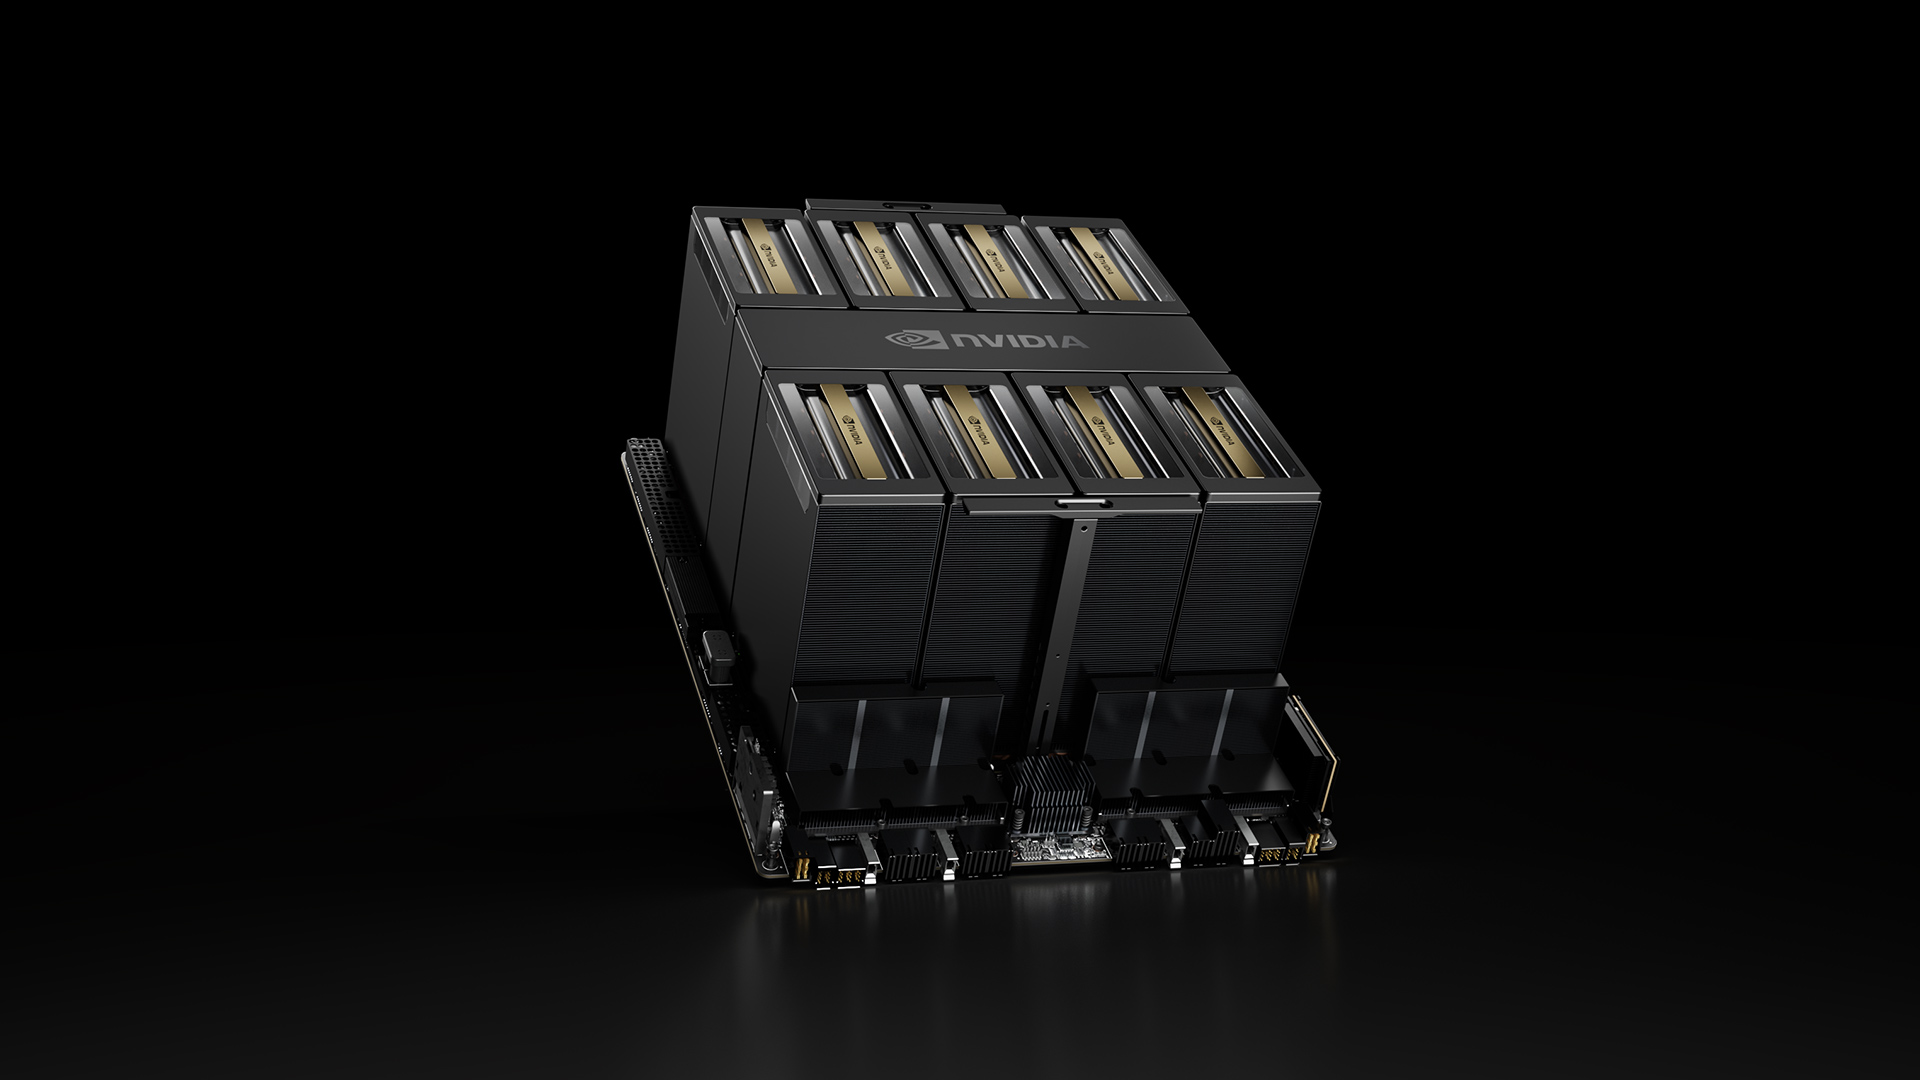
NVIDIA HGX B200 Reduces Embodied Carbon Emissions Intensity
NVIDIA HGX B200 lowers embodied carbon intensity by 24% vs. HGX H100, while delivering higher AI performance and energy efficiency. This article reviews the PCF-backed improvements, new hardware features, and implications for developers and enterprises.

Scaleway Joins Hugging Face Inference Providers for Serverless, Low-Latency Inference
Scaleway is now a supported Inference Provider on the Hugging Face Hub, enabling serverless inference directly on model pages with JS and Python SDKs. Access popular open-weight models and enjoy scalable, low-latency AI workflows.

How to Reduce KV Cache Bottlenecks with NVIDIA Dynamo
NVIDIA Dynamo offloads KV Cache from GPU memory to cost-efficient storage, enabling longer context windows, higher concurrency, and lower inference costs for large-scale LLMs and generative AI workloads.
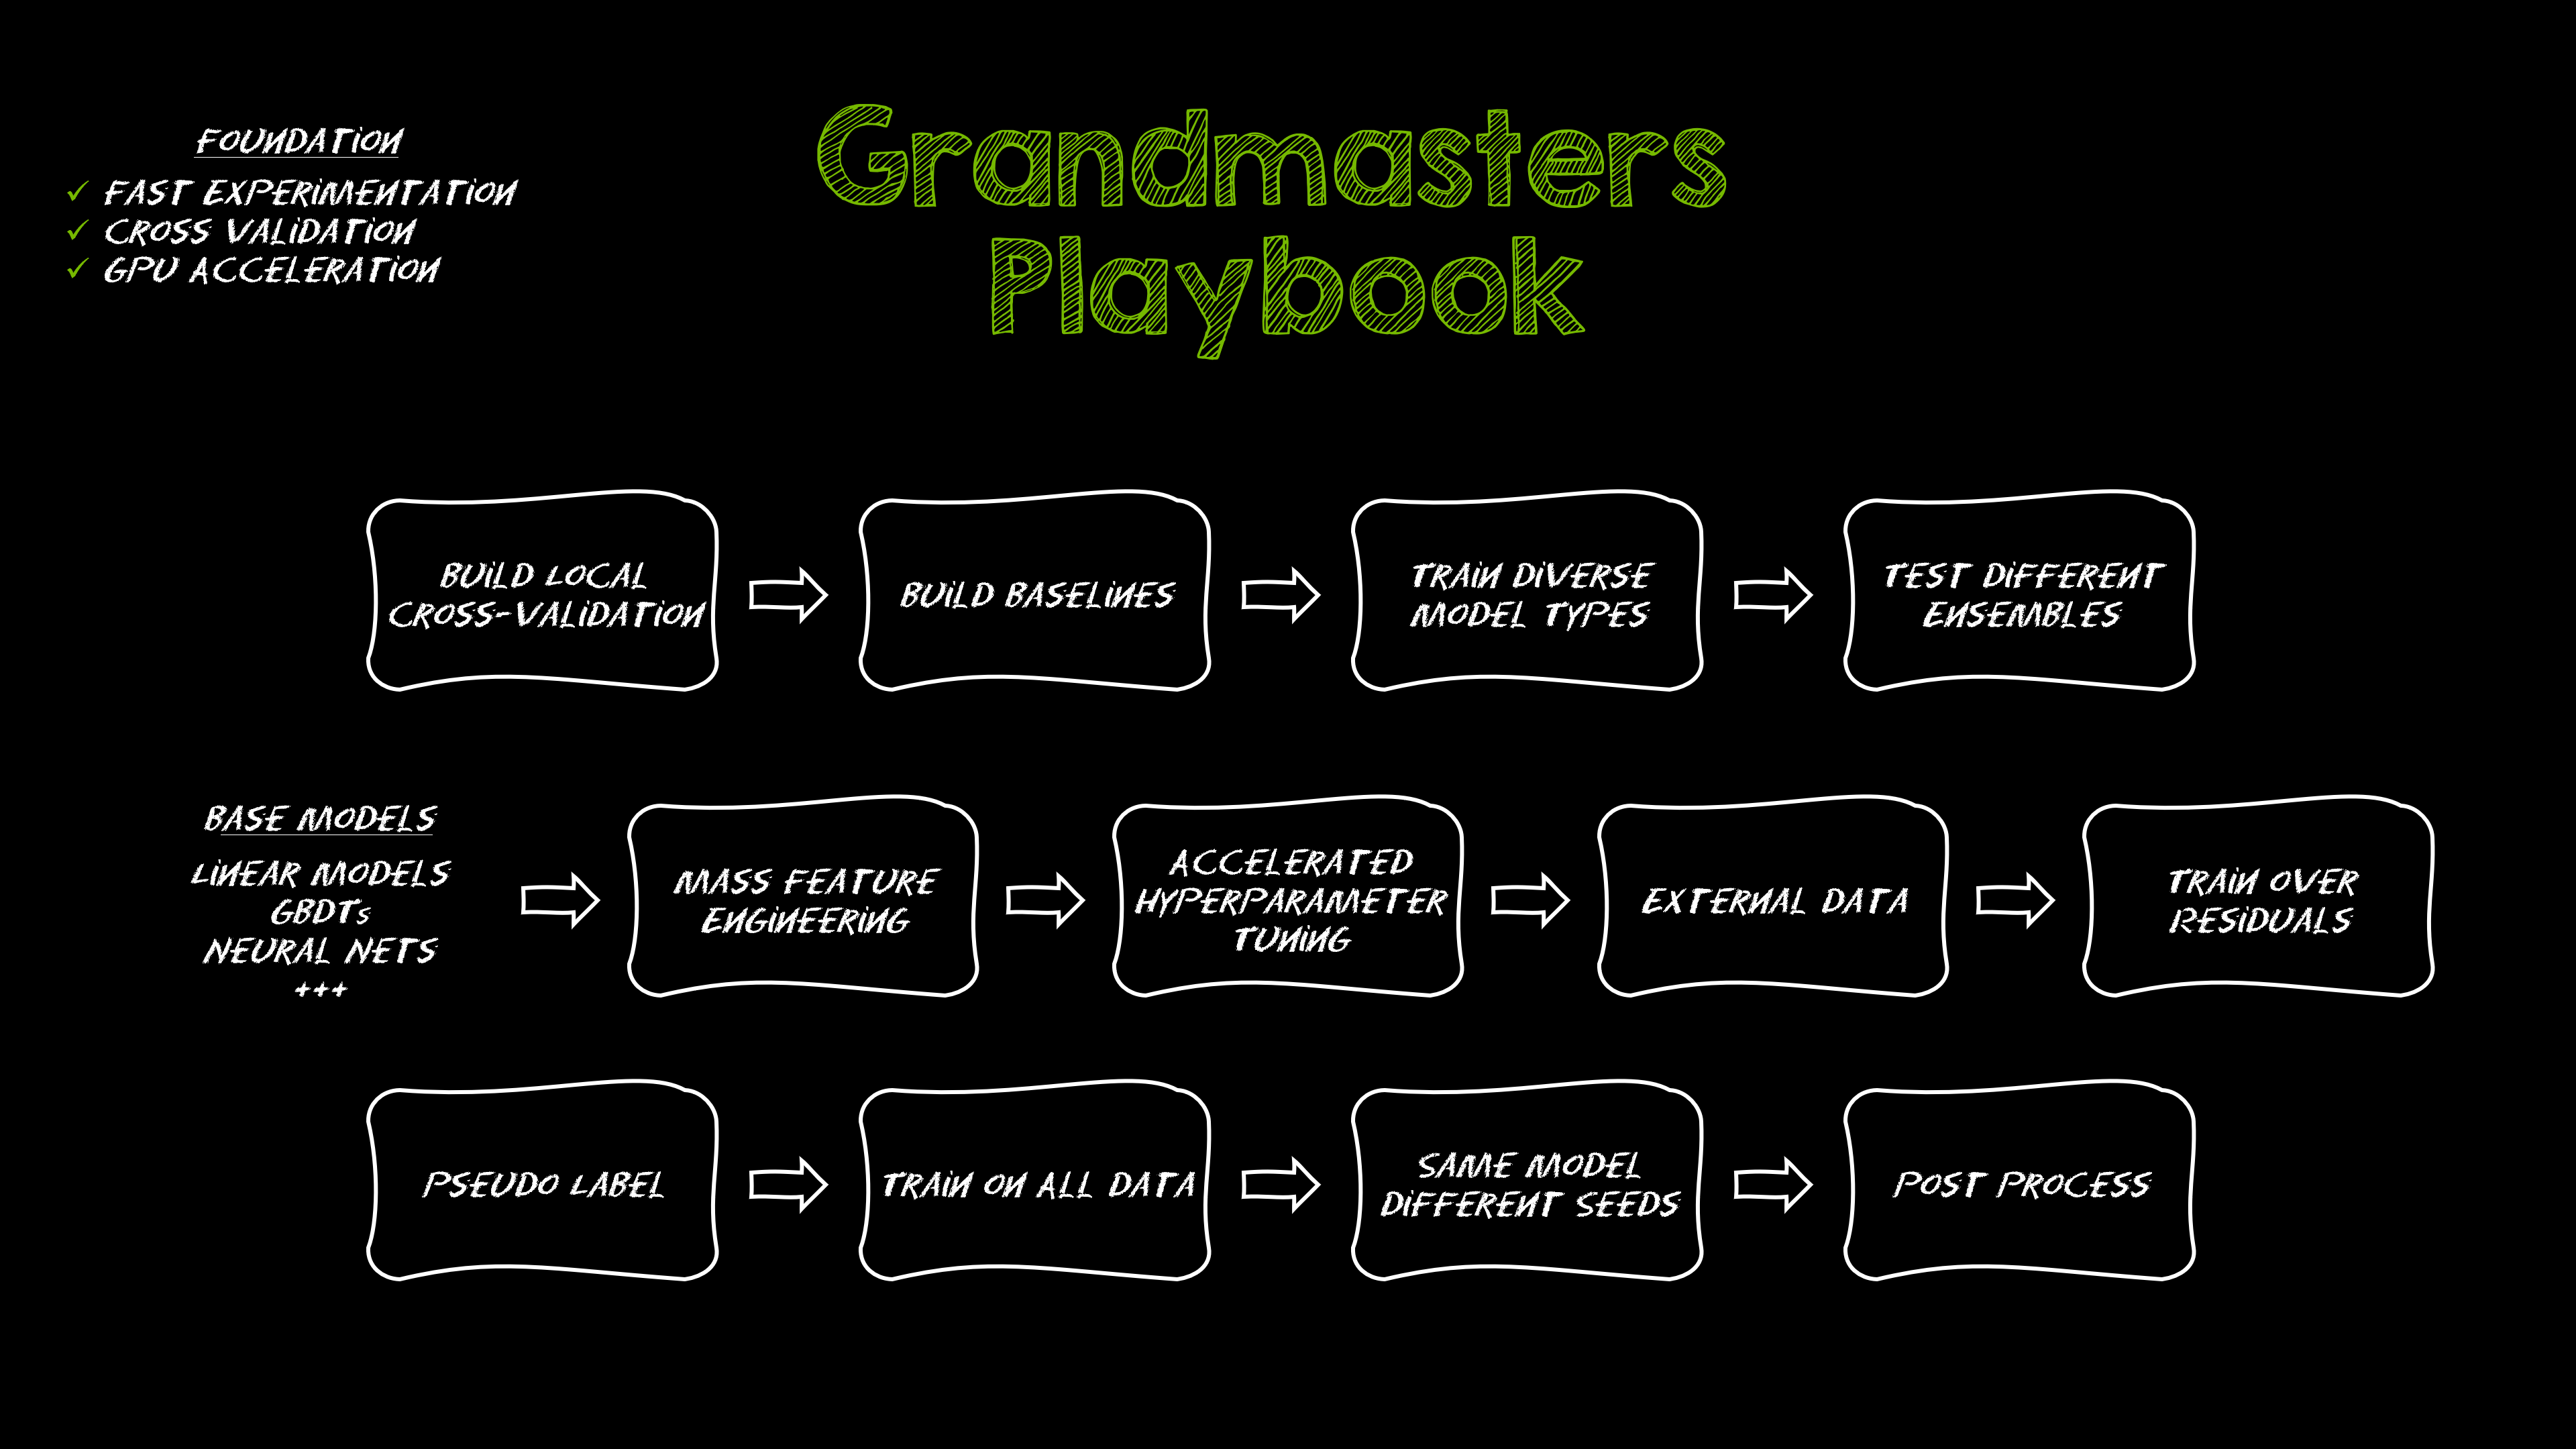
Kaggle Grandmasters Playbook: 7 Battle-Tested Techniques for Tabular Data Modeling
A detailed look at seven battle-tested techniques used by Kaggle Grandmasters to solve large tabular datasets fast with GPU acceleration, from diversified baselines to advanced ensembling and pseudo-labeling.
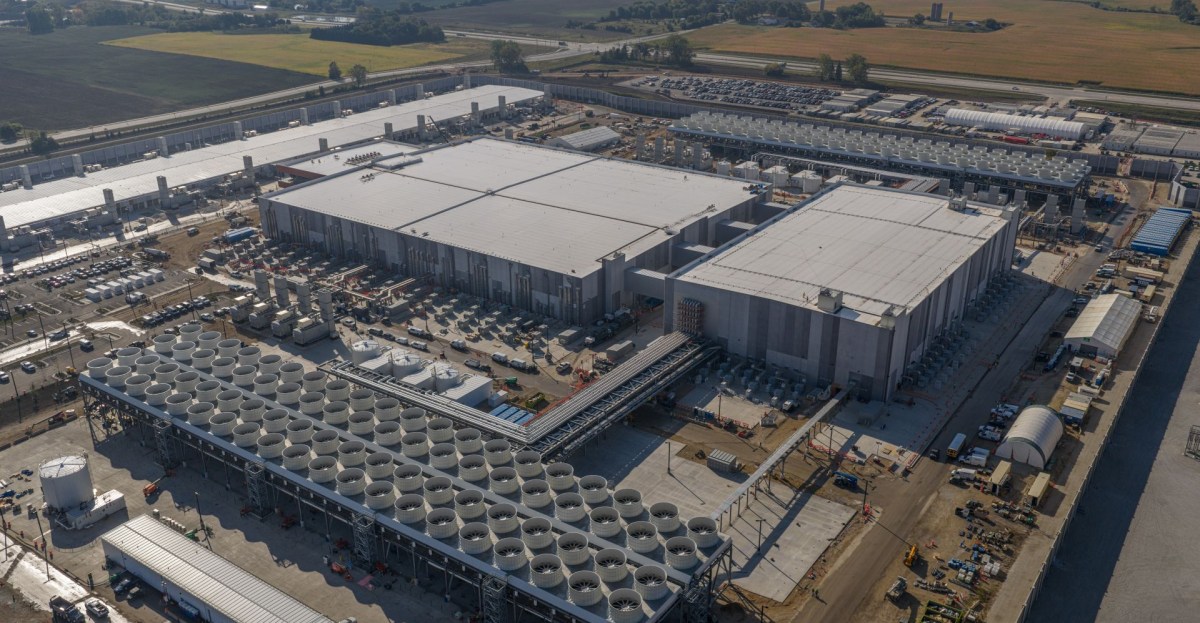
Microsoft to turn Foxconn site into Fairwater AI data center, touted as world's most powerful
Microsoft unveils plans for a 1.2 million-square-foot Fairwater AI data center in Wisconsin, housing hundreds of thousands of Nvidia GB200 GPUs. The project promises unprecedented AI training power with a closed-loop cooling system and a cost of $3.3 billion.
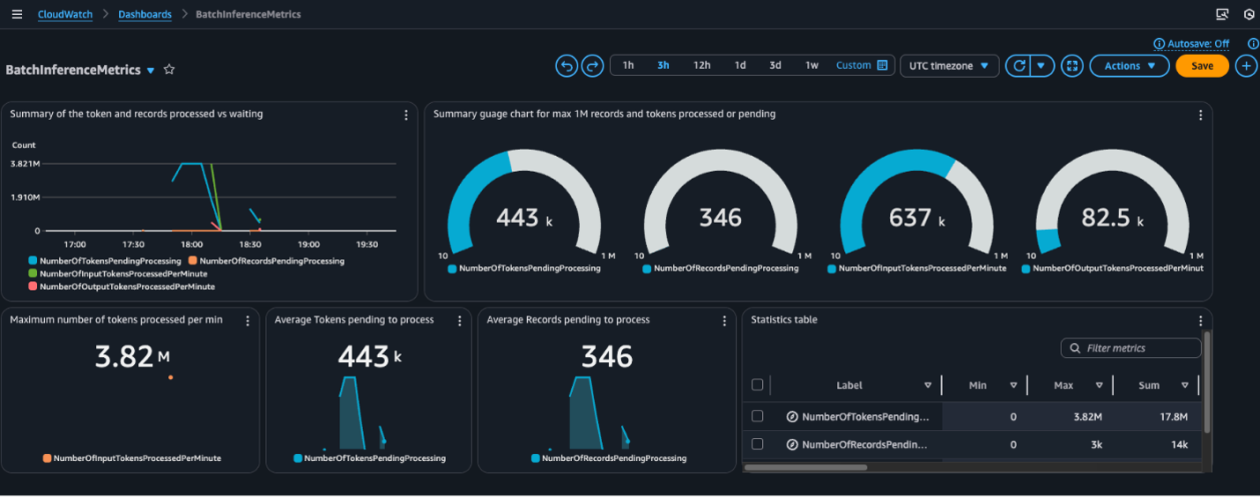
Monitor Amazon Bedrock batch inference using Amazon CloudWatch metrics
Learn how to monitor and optimize Amazon Bedrock batch inference jobs with CloudWatch metrics, alarms, and dashboards to improve performance, cost efficiency, and operational oversight.